A Mask is a special layer that selectively shows graphics placed in a Masked layer directly below it. You can create a motion tween in the Mask layer that slowly reveals a pathway placed in the Masked layer. This gives the illusion of the pathway being drawn out.
Import the Map Graphic
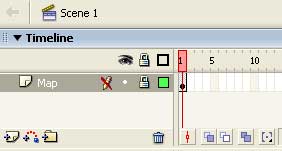
1. Choose File>Import>Import to Stage, and choose a bitmap graphic of your map. Flash imports your graphic and places it on the stage. Rename the layer containing your map, "Map". Click on the dot below the Lock icon in your "Map" layer to lock it which prevents you from accidentally moving it.
Draw Your Route
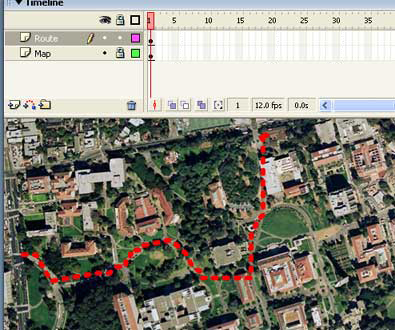
2. Add a new layer above your "Map" layer. Rename it "Route". This new layer will contain the pathway from start to finish.
3. Select the Pencil tool. At the bottom of the Tools palette, choose among three Options for the Pencil tool. Straighten will force all your line segments to be straight. Smooth will smooth your line out, eliminating any jitteriness. Ink will preserve your line as you've drawn it. Alternatively, you can use the Line tool to make connected straight line segments.
5. In the Property Inspector, choose a color, thickness, and linestyle for your pathway.
6. Be sure your "Route" layer is active by clicking on the layer, then draw the entire pathway from origin to destination.
Create the Animated Mask
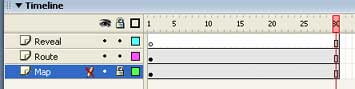
7. Insert a new layer above the "Route" layer. Rename the new layer "Reveal".
8. Select all the frames under frame 30 and choose Insert>Timeline>Frame. Flash adds empty frames to all three layers up to frame 30. This extends your timeline to give you room to work with.
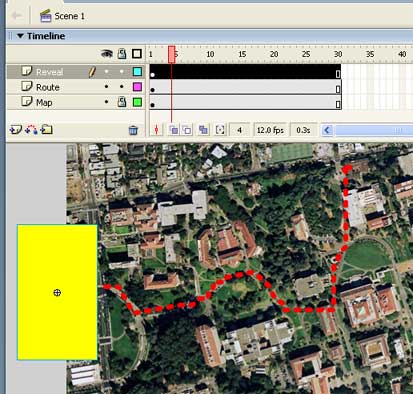
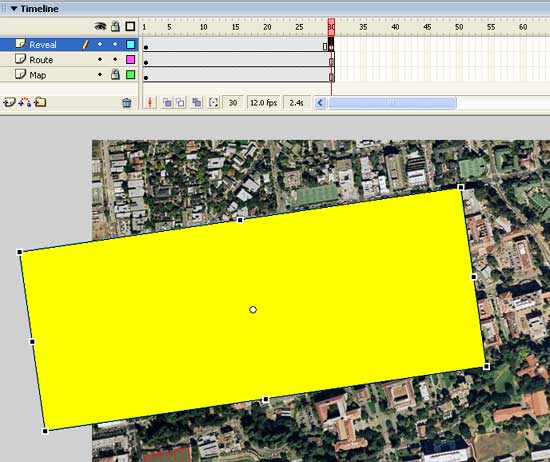
9. Select the first frame of your "Reveal" layer. Now select the Rectangle tool, and draw a box off to the side of your pathway. Select the Selection tool (the black arrow tool) and double-click your box in order to select all of it (both the inside fill and the outline stroke).
10. Now that you have your box selected, choose Modify>Convert to Symbol. Choose Graphic Symbol. You now have an instance of a Graphic symbol in your "Reveal" layer, which you will tween.
11. Select the last frame in the "Reveal" layer and choose Insert>Timeline>Keyframe. This establishes the end keyframe.
12. Select the end keyframe and then select the Free Transform tool ( ). Using the various handles that appear on your box, stretch, rotate, and move your box so it covers the entire pathway.
13. Now select the first keyframe of the "Reveal" layer and in the Property Inspector, choose Motion Tween. Flash creates an animation of your box growing and covering up your pathway.
Convert the Layers to Mask and Masked Layers
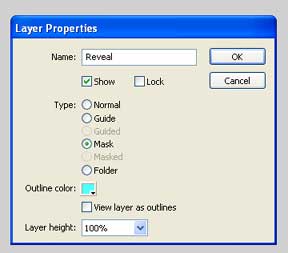
14. Double-click the Layer icon next to the "Reveal" layer. The Layer Properties dialogue box opens. Select Mask for the "Reveal" layer.
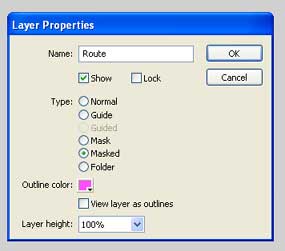
15. Double-click the Layer icon next to the "Route" layer. The Layer Properties dialogue box opens. Select Masked for the "Route" layer.
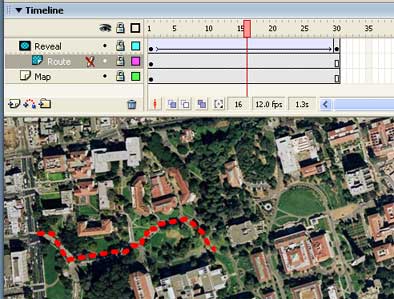
16. You now have a Mask layer/Masked layer pair in your timeline. The bottom Masked layer is idented to indicate that it is affected by the Mask layer above it. The growing box in the Mask layer (the top "Reveal" layer) is the growing "peephole" that reveals the pathway in the Masked layer (the bottom "Route" layer).
17. To see the effects of a mask, you must lock both Mask and Masked layers.
18. The final Flash result. Download the FLA file here.